Make a simple wall art hanging
- May 26, 2021
- 2 min read
Updated: Oct 17, 2022

A finished embroidery piece is wonderful to admire, but sometimes you can be left wondering what to do with it. One idea is to turn it into a small wall hanging. In addition to your finished embroidery piece, you will need the following:
*Sewing machine or simply a needle & thread
*Iron
*Tape Measure or ruler
*String, twine or yarn (I used spare crochet thread)
*Paper Straw
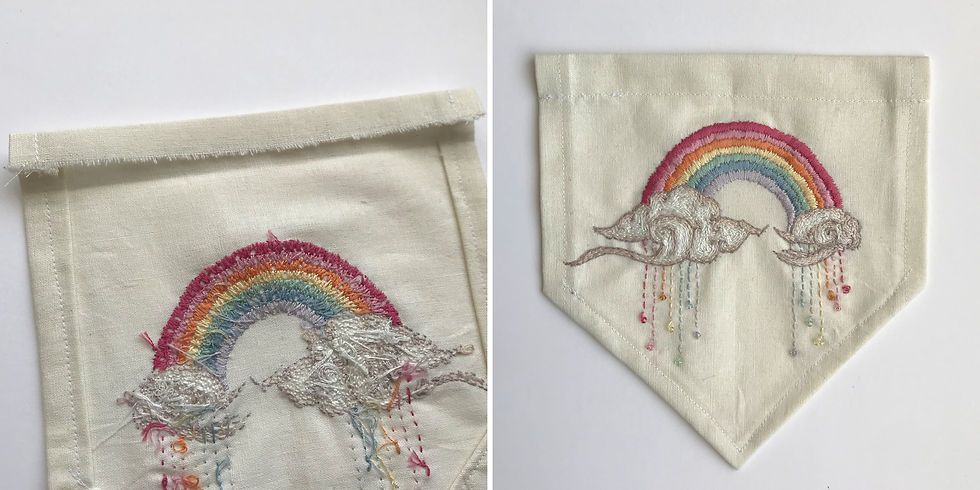
Before you start, press the finished panel with the iron, and using the rainbow as your centre, trim the edges to achieve the panel size you want. Leave 2cm seam allowance for the sides, and 2.5cm for the top. The bottom part will be trimmed a little later on.

1. Fold the sides 1cm, twice and press with the iron. Then stitch in place.

2. Fold the base 1cm and press with the iron. Fold the embroidered panel in half (press lightly with your hand) to find the centre line. Unfold, and take each bottom corner to meet the centre crease - creating 2 triangles as shown above.

3. Trim the triangles, leaving 2cm. Fold the new hem by 1cm, twice. Stitch down.
4. Fold the top by 1cm, press. Then fold by 1.5cm, press and stitch down to create your channel.

5. Pass the paper straw through the cannel, cut the ends off if you wish. Pass your string through the straw, finally tying a knot. Hide the knot inside the straw.
Your new wall hanging is ready.

You could use this instruction for any fabric/embroidered panel you have.
Download the PDF instructions here:

Another way to display your artwork could be with a box frame (from hobbycraft) as shown above on the left. I covered the backing board in a pink linen, and folded the embroidered panel with cello-tape over a piece of card cut to size. Finally positioning the embroidery on the linen backing board with double sided tape.


Comments